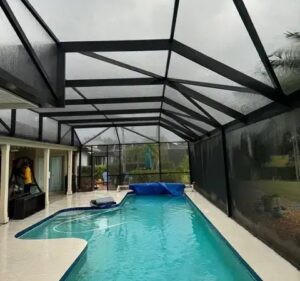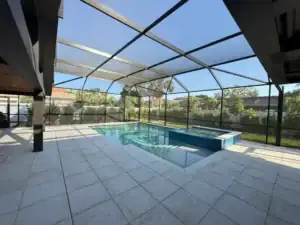
If you live in Florida or another state that’s blessed with nice warm summers, then you definitely know how valuable a screened cage is for a pool owner. You will want to be outdoors, you will want to be inside a pool, but hanging around with mosquitoes and other flying pests might not be your definition of a perfect pool day.
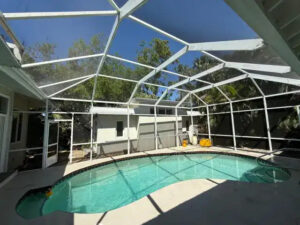
While screening your pool area is the best way of ensuring your in-home outings will be pleasant, it all goes south when you’ve got a damaged pool screen panel. You will need to replace it.
Replacing a Damaged Pool Screen Panel
Whatever kind of damage we’re talking about here (sagging, tears, etc.), if it’s not structural, you can always solve it by replacing the screen of that panel’s section. What we will be doing is: removing the rubber spline that holds the damaged screening in place from its seating, throwing it all away, and fixating a new screen with a new spline as well.
It sure sounds simple, but it will require some skill and the proper set of tools.
You will need:
- The new screen (sized appropriately)
- The new spline (sized appropriately)
- A spline roller
- A small screwdriver
- A needle nose plier
- A stiff-bristle nylon brush
- A measuring tape
- A utility knife
You should be able to find all of those things at your local hardware store, but in case they are not, you can always buy them online.
How To Replace A Pool Screen Panel: Step-by-Step
Truth be told, you can use these steps to replace any screen panel, not just a pool one. Nevertheless, let’s keep to the theme here.
Remove the damaged screen and its rubber spline
To remove the old screening, you will need to start by removing the rubber spline that’s keeping it in place. You should be able to do that by pulling from the damaged area or inserting the end of a flat-blade screwdriver into the corner of the panel to lift out the end of the spline.
Use the needle nose plier to pull and altogether remove all the rubber spline holding the screen on the panel. There should be nothing stopping you from throwing the old screen and spline on the trash right now.
Check for leftover thread and clean the spline channel
Check for leftover thread and clean the spline channel
Examine what you’ve done and make sure there are no leftovers on the spline channel, removing any found piece of thread with the nose plier.
Now clean the channel with a stiff-bristle nylon brush, scrubbing lightly until the whole spline track is free of any foreign material.
Prepare the new screen and spline
Cut enough screen to cover the whole area you’re rescreening while allowing at least two inches extra material to both the length and the width.
Pull the new rubber spline from corner to corner along its seating channel and cut appropriately so that there is no excess material.
Fit the new screen
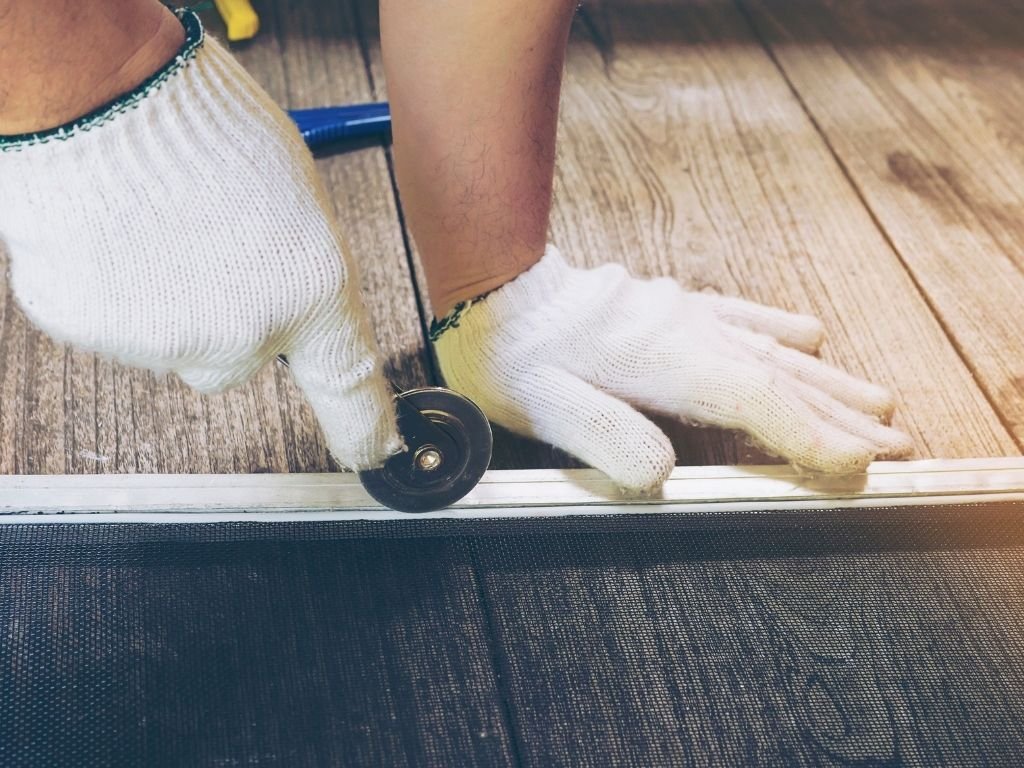
Position the new screen in place, allowing at least one inch of excess material over all four frame edges. Now a helper will be required to help you keep it in place and add tension as you start fixating it with the spline.
Starting at the top edge and using the roller, start inserting the spline on its channel, applying firm pressure, and rolling towards the opposite side.
Now do the same thing to a side edge, then to its opposite, and then to the last edge.
Cut the excess screen
With the utility knife, cut all excess material from all sides of the panel. You should cut it along the outside edge of the spline channel, taking a lot of caution not to cut the spline itself.
If you’ve done it right, then you’re finished.

The secret for a perfect installation
We could share no trick or technique to ensure you will end up with a perfect pool screen panel. The secret is experience, if you don’t have it, it will take 2 or 3 tries before you do it correctly.
If you want quality, we recommend you count on the help of professionals such as ourselves. We will not only ensure a perfect installation with a 3-year warranty, but we will also help you select the best material and make sure your structure is in good shape.
In the end, it might be cheaper to count on the pros. We offer free estimates, so if you live in Florida in Sarasota or Manatee County, don’t think twice before you call our number.